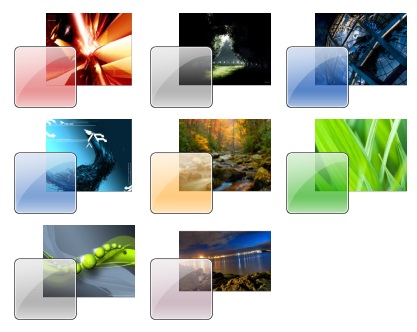
Windows 7 has some basic themes that most of the people rate as?visually impaired and that?s what brings them down to look for a decent theme. Apart from?downloading?and installing theme packs by general method, there is a long and cumbrous procedure to install and enable third?party?themes on your device. But worry not, for in this post we have tried to simplify the whole process into simple steps and broken down the whole structure into easy instruction for you to comprehend and apply themes of your choice.

You might want to take a look at Windows 7 Themes and Windows Phone 7 Wallpapers?as well.
Patching the System Files
To begin the procedure you will first have to patch 3 system files as named:
- uxtheme.dll
- themeui.dll
- themeservice.dll
There are many ways to do this, but the simplest and trusted method is to use a Universal Theme Patcher (V1.5) which can be downloaded here.
Using Administrative rights unzip the downloaded .zip file to location and run the setup file. It?should?be?noted?that if you have a?64 Bit OS you have to install the??UniversalThemePatcher-x64.exe? and respectively a???UniversalThemePatcher-x86.exe? for?32 Bit OS. If you are logged in via Administrator account you can directly double click on the exe file to begin or alternatively you can right click on the file and select ?Run as administrator? from the drop down box. Last thing you have to do is reboot your system and you are ready to begin installing themes of your choice.
Installing the Themes
Installing the default Aero themes like the one?s found as default in your Themes menu named as Architecture, characters or landscapes are easier to install as they come in??.themepack format and simply can be downloaded from any theme provider like Microsoft Website itself. The custom themes need Patching, which you just completed and custom theme can also use ?Aero? as a feature depending on the level it has been designed, so selecting a custom theme is not going to compromise any feature.
After you have downloaded the Custom theme of your choice from any source like DeviantArt all you have to do is extract the downloaded theme to a specific location. Generally, you will find the desired destination following this path:
C:\Windows\Resources\Themes
that is of course, if you have installed your Windows on C:/ drive. ?It is advised to check for Read-me or developers notes and read it carefully for any specific hints provided that maybe must for that specific theme to work. Sometimes,?additional files in the zip are required to complete the theme, a typical example would be a custom explorer.exe (start button) or Explorer Frame color that must be applied.
Applying Your Themes
Assuming that you have done the patching successfully and extracted the theme to its exact location; C:\Windows\Resources\Themes? you will now see your themes under personalize menu that can be reached by?right?clicking on Desktop>Personalize. Among other options that you see such as Desktop Wallpaper, Window?Color?and Screensaver, ?you will see your theme chooser . In order to be able to apply your installed Theme you can navigate to the lower side of the scroll box. You will find the ?Installed Themes? section just beneath the ?My Themes? and ?Aero Themes? section. Select the installed theme you want and it will be applied automatically.
Source: http://feedproxy.google.com/~r/DpShots/~3/E35Ja4KUnfA/how-to-install-windows-7-themes-07199988.html
No comments:
Post a Comment
Note: Only a member of this blog may post a comment.